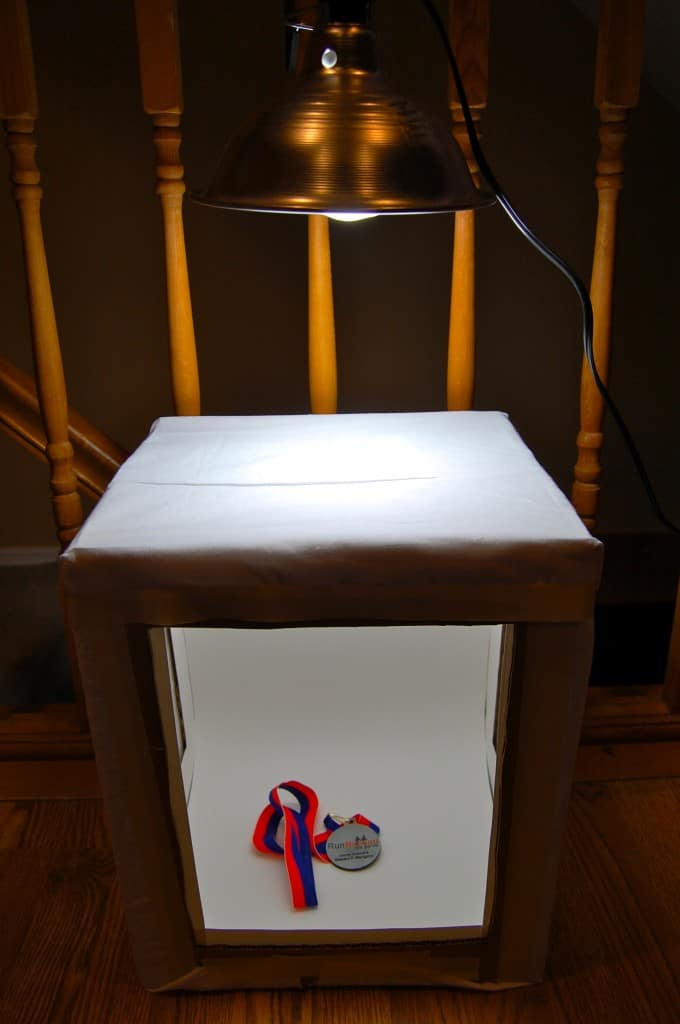
 I'm a terrible photographer. I have a Nikon d40 Digital SLR camera that has potential to take great photos, but the man pushing the button doesn't even take it off the "automatic" function. So lately I've been doing some research on how to take better photos of all the food I cook. There is nothing more frustrating to me than cooking or eating an amazingly delicious meal that is plated beautifully , only to then take a lackluster photograph that fails to capture the dishes true magnificence.
From what I've been learning so far, good photos start with good lighting. Since I do most of my cooking at night, I cannot rely on the preferred natural light. I really didn't want to go out and spend a fortune on fancy lighting equipment, especially because I'm an amateur when it comes to photography. I stumbled upon this really great article about How To Make An Inexpensive Light Tent, so I decided to give it a whirl. Wow, what an immediate difference, even with just staying on the "automatic" function on the camera!!! If you want to quickly improve your photographs without spending a lot of money, this is a great (and cheap!) idea:
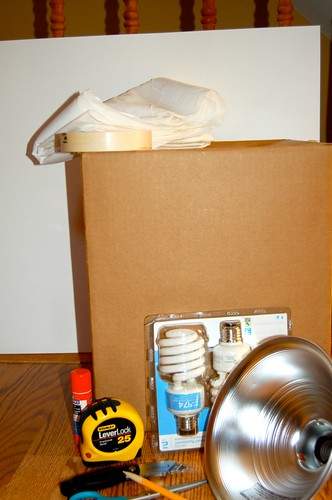
Here's what you will need:
[list style="red"]
- A Sturdy Cardboard Box: you should be able to get this for free. A square on is best, and it can be any size. For me, it had to be big enough to fit a dinner plate in it.
- Fabric: I used white muslin fabric that I found for $2.99 a yard a Joann's fabric (you could use others, or even white tshirts or a white bed sheet). You only need about 2 yards, but that of course is dependent on how big your box is.
- White Bristol Board: This is a heavyweight paper, kind of like oak tag, used in art for drawing. I found mine at Michael's, and only needed 2 pieces. I think they were about $2 each.
- Masking Tape
- Glue Stick
- Portable Work Light Fixture: You could also use a desktop lamp. I got my clamp on work light from Home Depot for about $7.
- Light Bulb: use a "daylight" bulb to get the feeling of natural light.
- Things you probably already have: scissors, tape measure, straight edge, box cutter, and pencil
[/list]
All of these materials for the entire light box and the light fixture cost about $25. Now that is a real bargain compared to a lot of light boxes and light fixtures out there, where you can easily spend around $70-100.
Here's How You Build The Light Box:
*I suggest reading through all steps before starting so you have a general overview of how to make the light box. Also, a picture is really worth a thousand words. Some steps are hard to explain in words, so make sure to also look at the pictures.
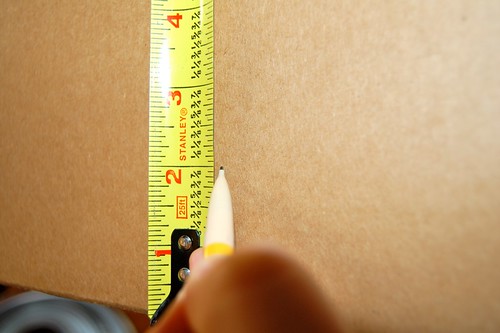
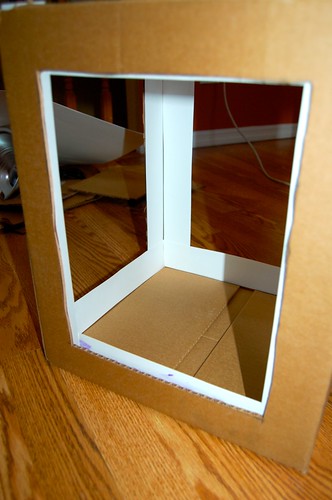
1) Lay the box on it's side. Using a pencil and tape measure, measure in 2" from each side of the box and make multiple marks. Then connect the marks you made using a straight edge. Do this on all four sides of the box (not the top and bottom). You are basically framing out where to cut the holes in the box.
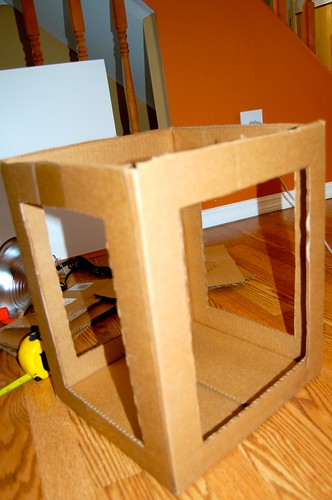
2) Using a box cutter or scissor, cut on the lines you made. When you are finished, it will look like:
3) Cut the bristol board into 2" strips. You will need a total of 16 strips in order to completely line the inside edges (sides, tops, and bottoms). Once you have the strips, use a glue stick (really use a lot of glue and press down firmly to the cardboard or else they won't stick) and attach the bristol board strips to the inside of the box as shown below. Make sure any lines you drew on the bristol board are on the glued down side and not facing out:
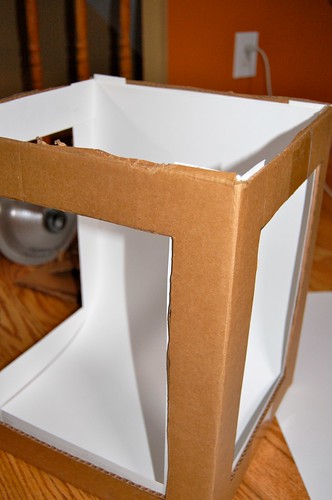
4) Cut a piece of bristol board to fit the width of the inside of the box. When putting it in the box (shown below), do not crease or fold the bristol board as that will show up in the photos. You want it to naturally curve from the top-back edge of the box to the bottom-front edge of the box.
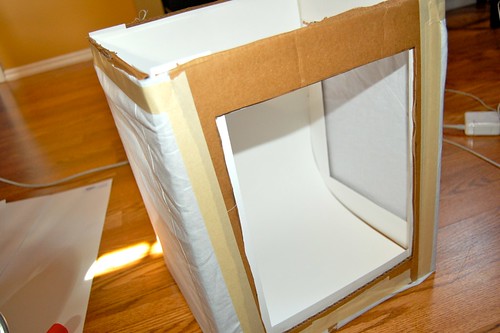
5) Using the muslin cloth, cut and fit it to the 2 sides of the box (not the front or the back). Use masking tape to adhere to box. Then, cut and fit cloth to the top of the box, again using masking tap to adhere to box:
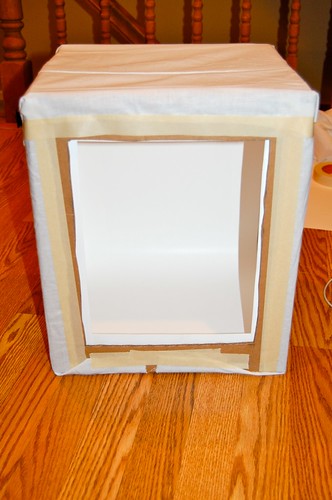
6) Put light bulb in the light fixture and find a place above the box to clamp it on. You can experiment by moving the light closer and further away from the box to see how it affects the lighting. Just be careful not to put the light bulb too close to the cloth for a long period of time. Cloth is flammable!
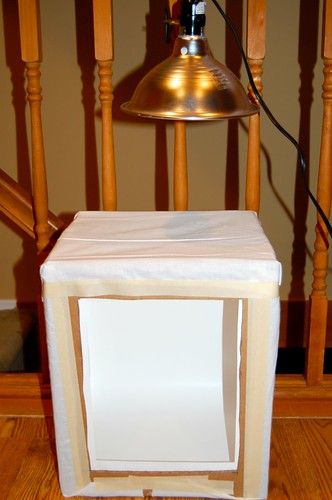
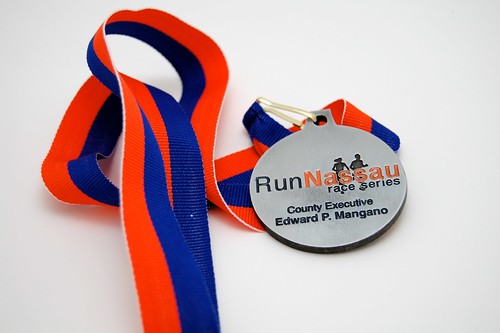
Asheley just won a medal at a running race she did that morning, and it was the only object at arm's reach. Thus, it made it the perfect guinea pig candidate for the new light tent. I placed the medal in the light tent, and here's what the light tent looks like all lit up....

Now, if you put your camera right up to the opening of the light box, the flash on the camera is no longer needed and here is the beautiful picture you get:
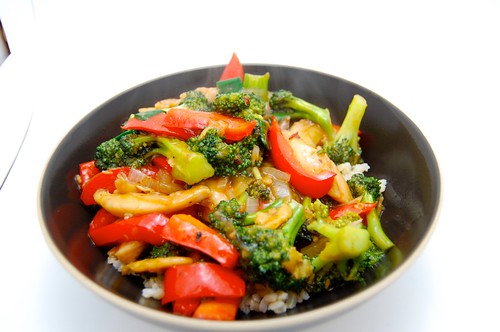
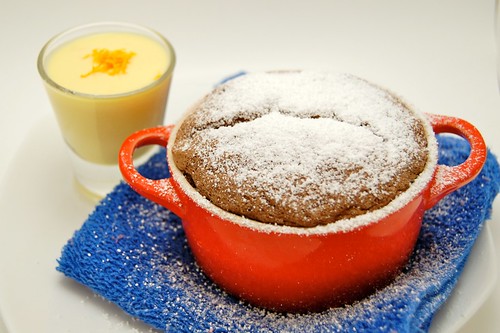
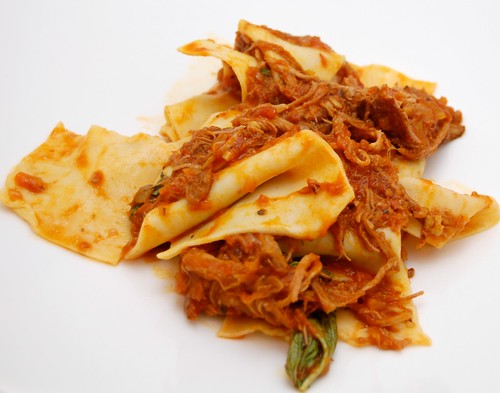
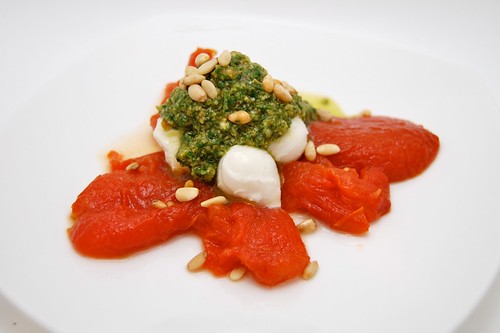
And here are some of my first pictures of food using the light box. I have seen immediate results using this light box. Better lighting equals better photos! And I am a complete photography amateur. My camera is just on automatic and I'm snapping away:
Here is the picture of the delicious Taccozzette con Stracotto (Pasta with Braised Pork Shoulder Ragu):
And the picture of the Winter Caprese Salad:


StephFoodie says
Ah! So this is how you take amazing pictures! I will admit that I take pictures for my blog with my iPhone, but what a great idea with the light tent. I must try!
Chris says
My iPhone is a trusty standby when it's called upon 🙂 Thanks for the kind words, but I have a lots and lots of photography learning to still do! Look at smittenkitchen's beautiful photos for example. That's what I want to be able to do!
John says
Out of curiosity, what camera did you use?
Chris says
Hi John,
I was/still am shooting on a Nikon d40 at this point. I'm in the process of getting some new gear now actually, but that's the beauty of having great lighting: you can get good results with mostly any camera. Thanks for stopping by!
Paul says
Chris, I have the same camera, what settings do you use for these shots?
Chris says
Hi Paul,
Thanks for stopping by! This was a while back before I really learned how to use the camera, so I was just on the "no flash" function, which is right next to the auto. Now I'm shooting on a Canon 6d and absolutely love it... and I have to admit, since writing this post last year I've been learning a whole lot more about photography, and now the majority of the time try to shoot with only natural lighting. It makes a huge difference.