Taking photos of your food on the same surface over and over again gets boring. Trust me, I know. You get bored with it, and your readers get bored with seeing that same countertop day in and day out.
I'm actually at the point now when I need to expand my backdrop repertoire, since I'm growing tired of the few I currently have in my arsenal. I figured I would share some really easy ways you can make your own food photography backdrops. They are cheap, simple, and a great way to add depth and creativity to your food photography.
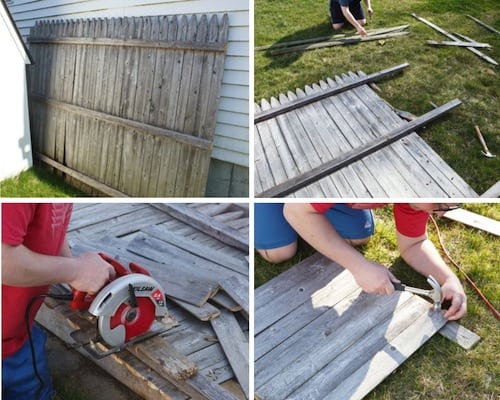
You've basically got two options when it comes to making a wooden DIY Food Photography Backdrop.
1) they sell little squares (around 2' x 2') of plywood at many home improvement stores. You can buy two of them, use the saw of your choice to cut them into equal sized strips, and then glue them back together, actually creating two backdrops in one. I know that was super unclear, so let me try to explain. Reassemble one of the boards into the square shape, and then drizzle wood glue or something of similar or greater strength all over it. With the pieces from the other square, go in the opposite (perpendicular) direction and press into the glue. Clamp them down with some heavy objects and come back the next day. At that point, you have a two-sided board. If you look at the photos towards the end of the post, you'll actually see that the turquoise/brown backdrop and the all white backdrop are exactly that.
2) have an old wood fence lying around? Yes?! Fantastic, you can make an easy DIY food photography backdrop. No? People are throwing them out all the time, so go find some. I just replaced this old wooden fence in the backyard with one of those fancy new PVC jobs. I asked the fence company to leave me one section of my old wood fence. See the photos above? That's Tyler and I breaking the planks apart, removing the nails, sawing them down to size, and just reassembling them into boards.
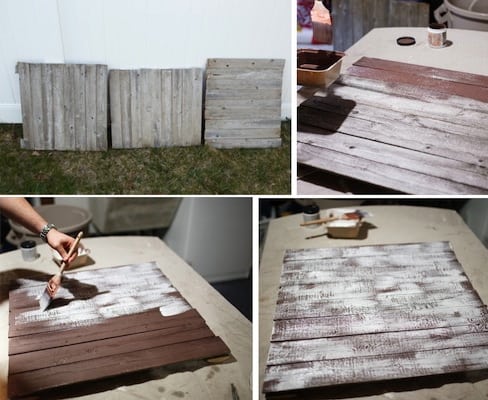
We left one all-natural, without painting or anything. That's pretty much my go-to backdrop at this point. Another one we gave a base coat of a brown and then a light random brushing of white on top. We still have one more to play with, but we aren't really the crafty creative types. Have a creative suggestion for us? Let us know by leaving a comment below 🙂
So here's how it looks as a final product...
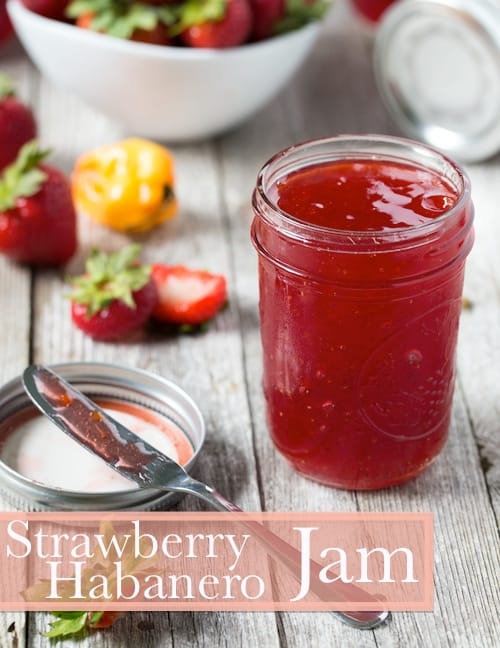
My go to all-natural fence backdrop. I like how you can really see the texture of the wood and how it looks weathered and rustic.
The white side of my plywood board. It's missing that texture element, but's it's still a great choice for simple white backgrounds.
The fence backdrop that we painted brown and white.
And the turquoise-brown side of our plywood background. For this we painted the entire board brown, then did random brushes of turquoise paint on top.
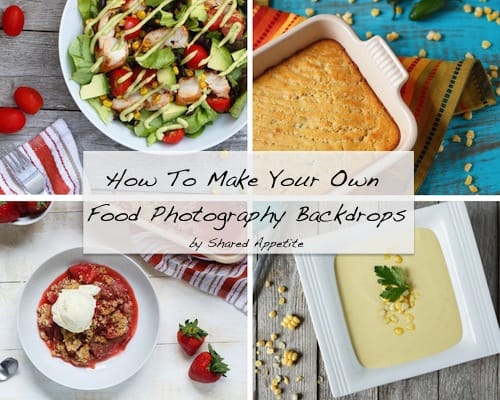
And just some more examples...
Anyone else have some good ideas for food photography backdrops? Share the love. I would love to know what you all do 🙂




Sandra says
Your backdrops really came out great! I've been meaning to do this...I need a pair of men to come and build me some because I just don't have any desire to learn to use power tools. I try to use some different things but lately I have just been lazy and wind up using my kitchen table. I wish there was someone selling "food blogger Props" on the internet somewhere.
Chris says
Thanks Sandra! I know, wouldn't it be great if someone just opened a food blogger prop store?! It could be full of vintage and antique utensils, platters, plates, etc etc. That would be glorious. I've actually also found recently that using cool patterned scrap-booking paper can make for great backgrounds as well.
Erin says
Making boards is definitely on my to-do list once I'm done with my internship and on Christmas break... thanks for the practical advice!
Chris says
I need to make me some new boards as well. If you have any good ideas, let me know!
Artney says
I absolutely love your idea! I'm in the process of creating my backdrop for my blog posts. How did you get your lighting so perfect? I've been seeing quite few YT videos on how to make your own light tent. I'm hoping that would help! Let me know if you have any ideas!
Chris says
Hi Artney, thanks so much! I did this idea way back when.. just when I was starting out. To be completely honest, I stopped using this technique a long time ago because, without question, natural diffused light is so much better. My suggestion would be to photograph during the day time using good diffused natural light. The light tent definitely does work, especially if you need to shoot at night, but overall photos definitely come out better using good natural light.
Layla says
Thank for sharing! This is such a great tutorial! I've been using a simple white and black board that I originally purchased from ikea for my daughter lol. I'm going to attempt to make my own boards this weekend!
Chris says
Cool, let me know how they turn out! Oh, and also... just discovered Swanky Prints from Etsy... https://www.etsy.com/shop/SwankyPrints?section_id=10439337 They sell these awesome vinyl backdrops that I am currently using and absolutely loving.
Ilona says
Love it, so you are a great cook and handyman:)
Chris says
Thanks Ilona! But I'm not the handyman... that'll be my friend Tyler. I'm more of a "watch from a safe distance" kinda handyman, haha.