
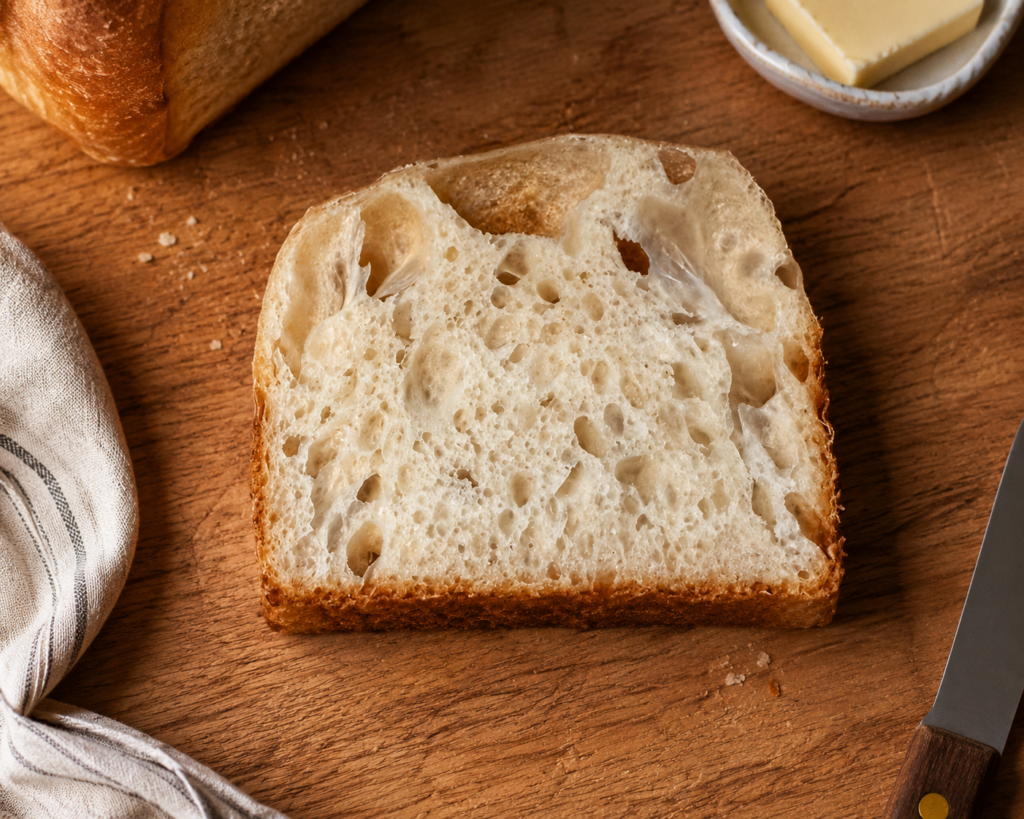
Ever pull a loaf of sandwich bread out of the oven only to find it's lopsided, domed on one side, and nowhere near the perfect square you were picturing? Same. That was me for months before I finally got serious about Pullman pan sourdough. Turns out the secret isn't some fancy technique — it's just getting your dough weight and timing right.
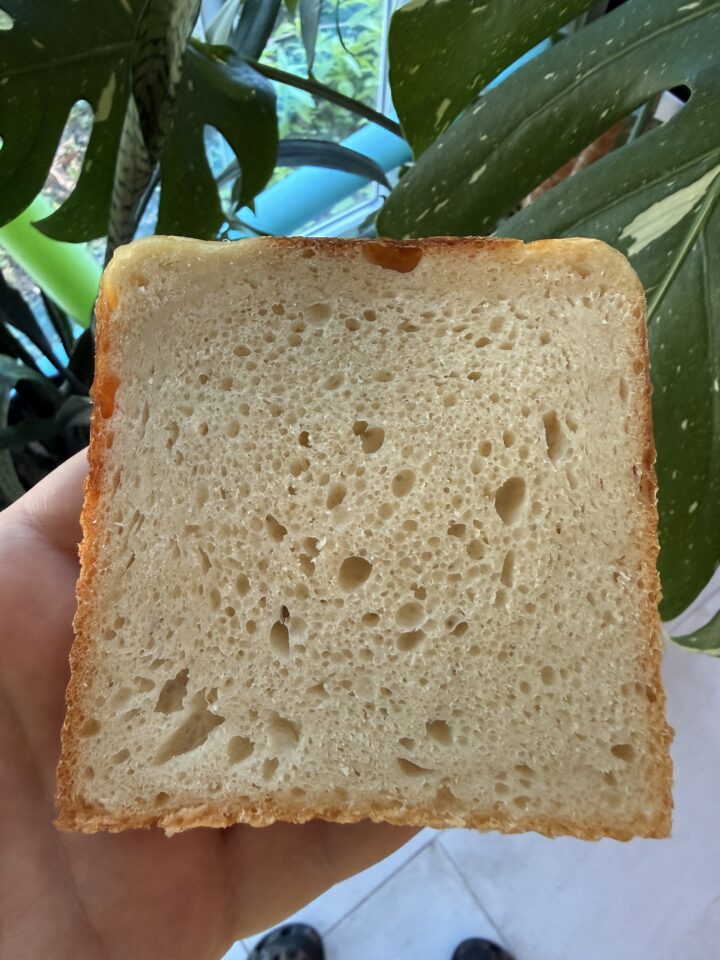
Once I dialed those two things in, everything changed. Now I've got a go-to sourdough Pullman loaf that comes out with crisp, square corners every single time, and it makes the best sandwich bread I've ever had in my own kitchen. No dense, gummy centers. No weird domed tops. Just clean slices with a tight, even crumb that holds up to anything you pile on it.
According to a 2023 survey, homemade bread baking saw a lasting surge after 2020, with sourdough specifically becoming one of the most searched baking categories year over year. If you've been meaning to jump on that wagon but got intimidated by the "real bread" learning curve, this recipe is exactly where I'd start.
Why This Sourdough Pullman Loaf Recipe Works
Weight-based dough measurements, not guesswork Cold overnight retard for deeper flavor and easier scheduling Sized specifically for a 13x4 Pullman pan, so you get square corners every time No commercial yeast — just your starter doing the work Great for sandwiches, toast, or freezing for later
What Is a Pullman Pan, Anyway?
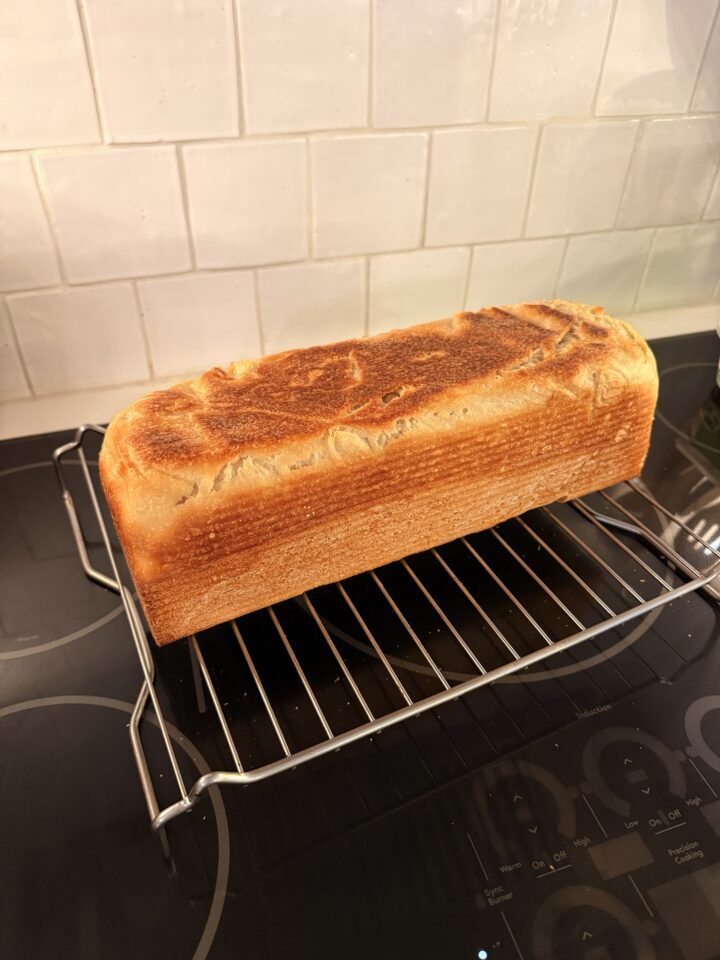
If you've never used one, a Pullman pan is a long, narrow loaf pan with a sliding lid that clamps the dough in as it rises, forcing it into perfectly square corners instead of the rounded dome you get from a regular loaf pan. It's the same shape you see on packaged sandwich bread at the store, minus all the preservatives. The lid is optional — leave it off if you want a domed top, or slide it on if you're after that classic squared-off sandwich slice.
Equipment
13x4 USA Pan Pullman Loaf Pan with Cover Kitchen scale (seriously, don't skip this one — see my thoughts on why I always weigh baking ingredients) Large mixing bowl Bench scraper Instant-read thermometer
Getting the Timing Right
This is the part that trips people up. Sourdough isn't like a quick-yeast sandwich bread where you mix, rise once, and bake. Here, you're mixing the dough, letting it rest, folding it a couple of times over a few hours to build strength, then shaping it and letting it finish its rise slowly overnight in the fridge. That cold, slow rise is doing double duty: it deepens the tangy sourdough flavor, and it lets you bake first thing in the morning without waiting around for a same-day rise.
The dough goes straight from the fridge into a hot oven — no need to let it warm up first. Just make sure it's domed up nicely in the pan before it goes in. If it still looks flat and sleepy, give it 30-45 minutes on the counter first.
Common Mistakes to Avoid
Using too little dough (leads to a rounded top instead of sharp corners) Rushing the bulk fermentation folds Skipping the scale and eyeballing flour and water Opening the lid mid-bake to check on it (just trust your thermometer) Slicing into it before it's fully cooled
Once you've got the rhythm down, this becomes one of those recipes you can practically make on autopilot. The dough does most of the work overnight while you sleep, and you wake up to a loaf that's ready to bake.
Ready to give it a try? Grab your starter and your scale, and let's get baking. This is the kind of bread that makes weekday sandwiches something to actually look forward to — try slicing it up for avocado toast with dukkah and pickled onions, or spread a thick slice with homemade labneh for breakfast. If you make this loaf, leave a comment and let me know how those corners turned out!
Sourdough Pullman Loaf Recipe: The Secret to Perfect Square Sandwich Bread
- Total Time: 5 hours
- Yield: 1 loaf of bread 1x
- Diet: Dairy-Free, Vegan
Description
A weight-based sourdough sandwich bread recipe built specifically for a 13x4 Pullman pan. Cold-retarded overnight for deep flavor and baked straight from the fridge for perfectly square, sliceable sandwich bread.
Ingredients
-
- Bread flour: 560g
- Whole wheat flour (fresh-milled): 100g
- Water: 460g
- Salt: 13g
- Active sourdough starter: 136g
Total dough weight: 1,269g
Instructions
Mix starter, water, and flour: Combine starter, water, and flour in a large bowl until no dry flour remains. Cover and rest for 30 minutes.
Mix in salt: Sprinkle salt over the dough and mix thoroughly until fully incorporated. Cover and rest for 1.5 hours.
First fold: Perform a set of stretch and folds in the bowl. Cover and rest for 1.5 hours.
Second fold: Perform another set of stretch and folds. The dough should feel noticeably puffier and more extensible than after the first fold.
Shape and bench rest: Turn the dough out, pre-shape into a tight round or log, and let it rest uncovered on the counter for 30 minutes.
Final shape and pan: Shape the dough into a tight log matching the length of your Pullman pan. Place seam-side down into a well-greased 13x4 Pullman pan.
Cold retard overnight: Cover (or slide on the Pullman lid if the dough is nearly filling the pan) and refrigerate for 8-12 hours.
Bake from the fridge: Preheat oven to 400°F. Bake the pan directly from the fridge for 50-60 minutes, until internal temperature reaches 200-210°F.
- Prep Time: 4 hours (active + bulk fermentation)
- Cook Time: 55 minutes
- Category: Breakfast, Side Dish
- Method: Baking
- Cuisine: American




Bobsmith125 says
Loved this recipe it worked great !!!
Janis says
The bread pictures look delicious! I have a 9x4 Pullman pan. Could you kindly provide me with the recipe amounts for this size pan? Thanks so much!
Tyler says
I used ai to convert the recipe to 9x4 pan but never tested it. Let me know how it turns out - Bread flour: 388g
Whole wheat flour (fresh-milled): 69g
Water: 318g
Salt: 9g
Active sourdough starter: 94g