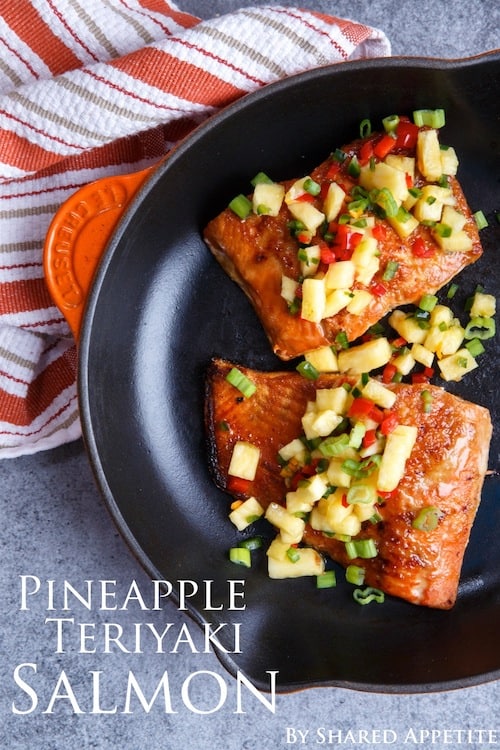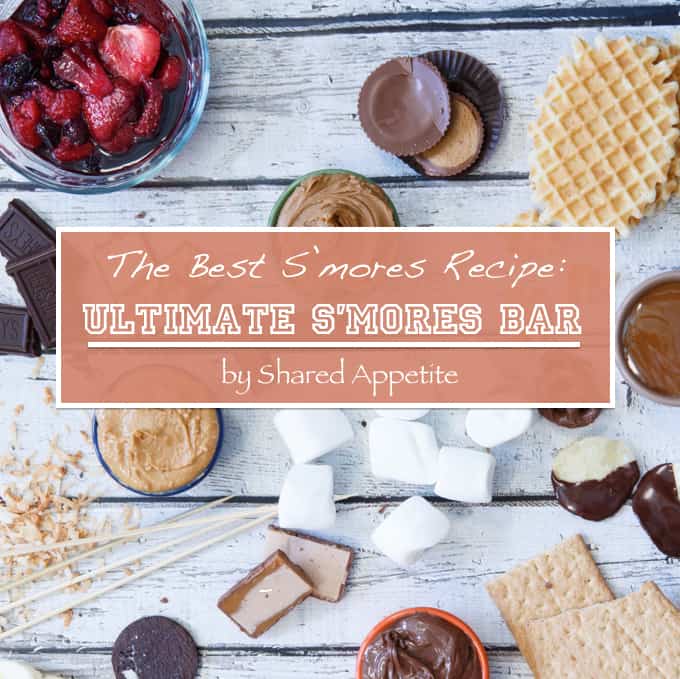

Classic s'mores are great and all, but if you want to create the best s'mores recipe, you need... the Ultimate S'mores Bar!
Our first week in the new house... and it's starting to come together!
First floor is (almost) completely painted.
Kitchen is unpacked (duh, that was top priority in my mind from day 1).
Now it's on to painting the second floor bedrooms and unpacking all sorts of boxes. Once everything is set up, I'll be sure to share some photos with y'all.
And you better believe we'll be having an end of summer bash. And you know what I'll be serving up all our friends and family for dessert? This Ultimate S'mores Bar.
...because I'm pretty sure that the best s'mores recipe will come out of having all these options at your fingertips.
Top 5 reasons to host an ultimate s'mores bar?
- It's a super easy, prep-ahead dessert for easy summer entertaining.
- Kids love it.
- Adults love it even more.
- You'll become a backyard bbq legend within your circle of family and friends.
- Seriously, do you need a 5th reason? It's s'mores times 1,000. For realz.
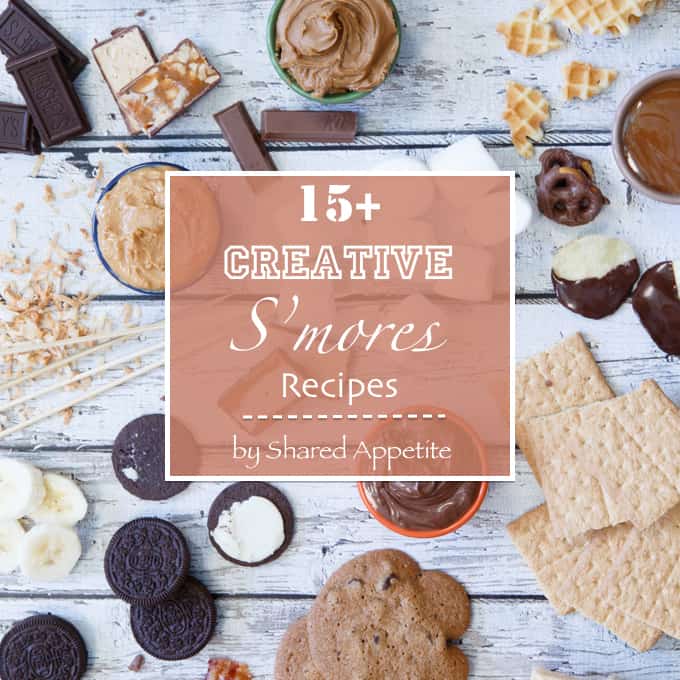
Okay, okay... if you really do need a 5th reason, how about a look at some s'mores options. The say a picture is worth a 1,000 words:


So there you have it. The ultimate s'mores bar.
You put out the toppings. And then let the s'mores artistry begin.
Need some inspiration for your s'mores bar? Check out these 15+ Creative S'mores Recipes!


 61")
 62")
 63")
 64")


 191")
 192")
 193")
 194")
 195")
 196")
 197")
 198")
 199")
 200")
 201")
 202")