
This is the best dip you've probably never heard of... Quick and Easy Homemade Labneh!

I can't recall the exact first time I tried labneh, but I'm pretty sure it was at the popular Lebanese restaurant, ilili, in the flatiron district of NYC. That entire dining experience was pretty eye opening, and led me down an insatiable path of sampling different Mediterranean and Middle Eastern flavors.
What is Homemade Labneh?
When you read the description on any restaurant menu, labneh sound wildly underwhelming: "strained yogurt".
How can that possibly be good? To be honest, by itself it's quite the simple blank canvas. Homemade Labneh, or labne as I see it sometimes spelled, is mildly tangy with the consistency of a thick, creamy, spreadable dip. It's simply made with two ingredients: Greek yogurt and salt. After straining for at least 24 hours, you're left with a savory yogurt "soft cheese" that is the perfect no cook, vegetarian dip that's low carb, low calorie, and has no added sugar. It's also a great source of protein, calcium, and contains good bacteria!

What Are Some Uses for Labneh?
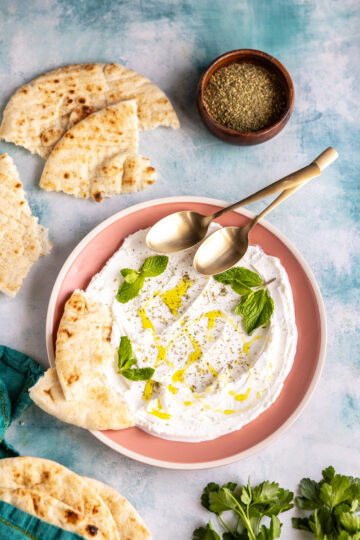
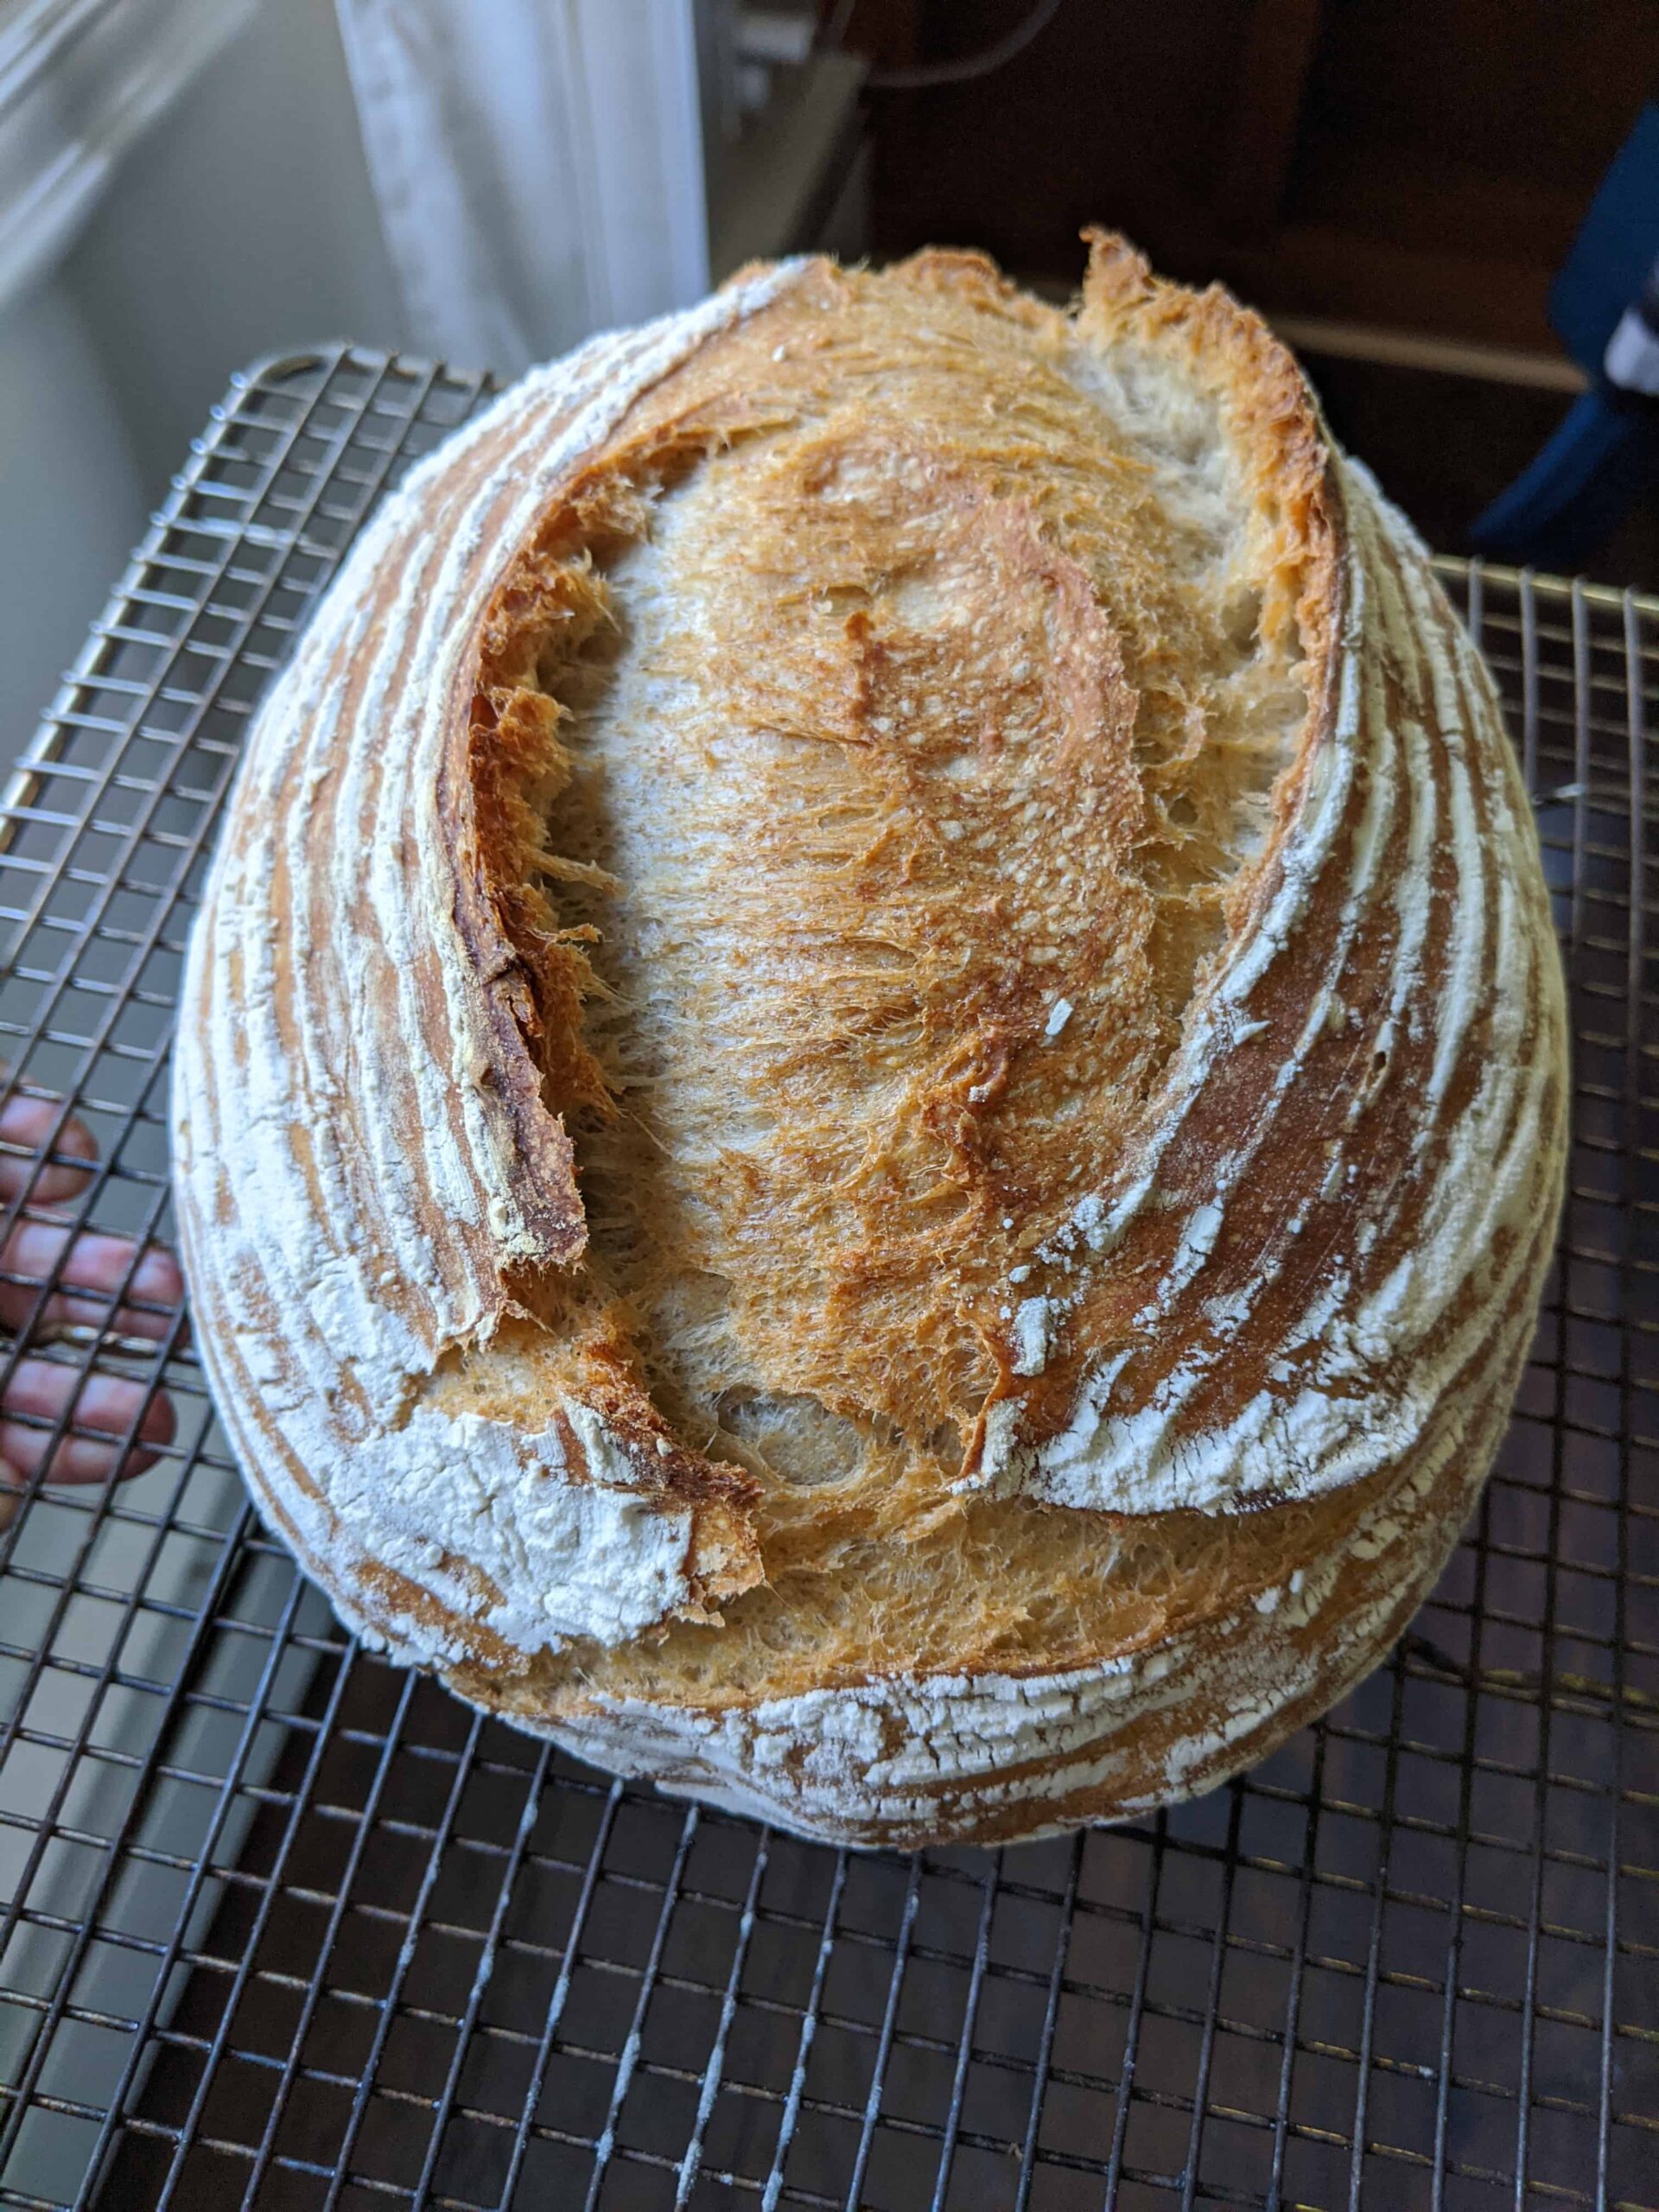
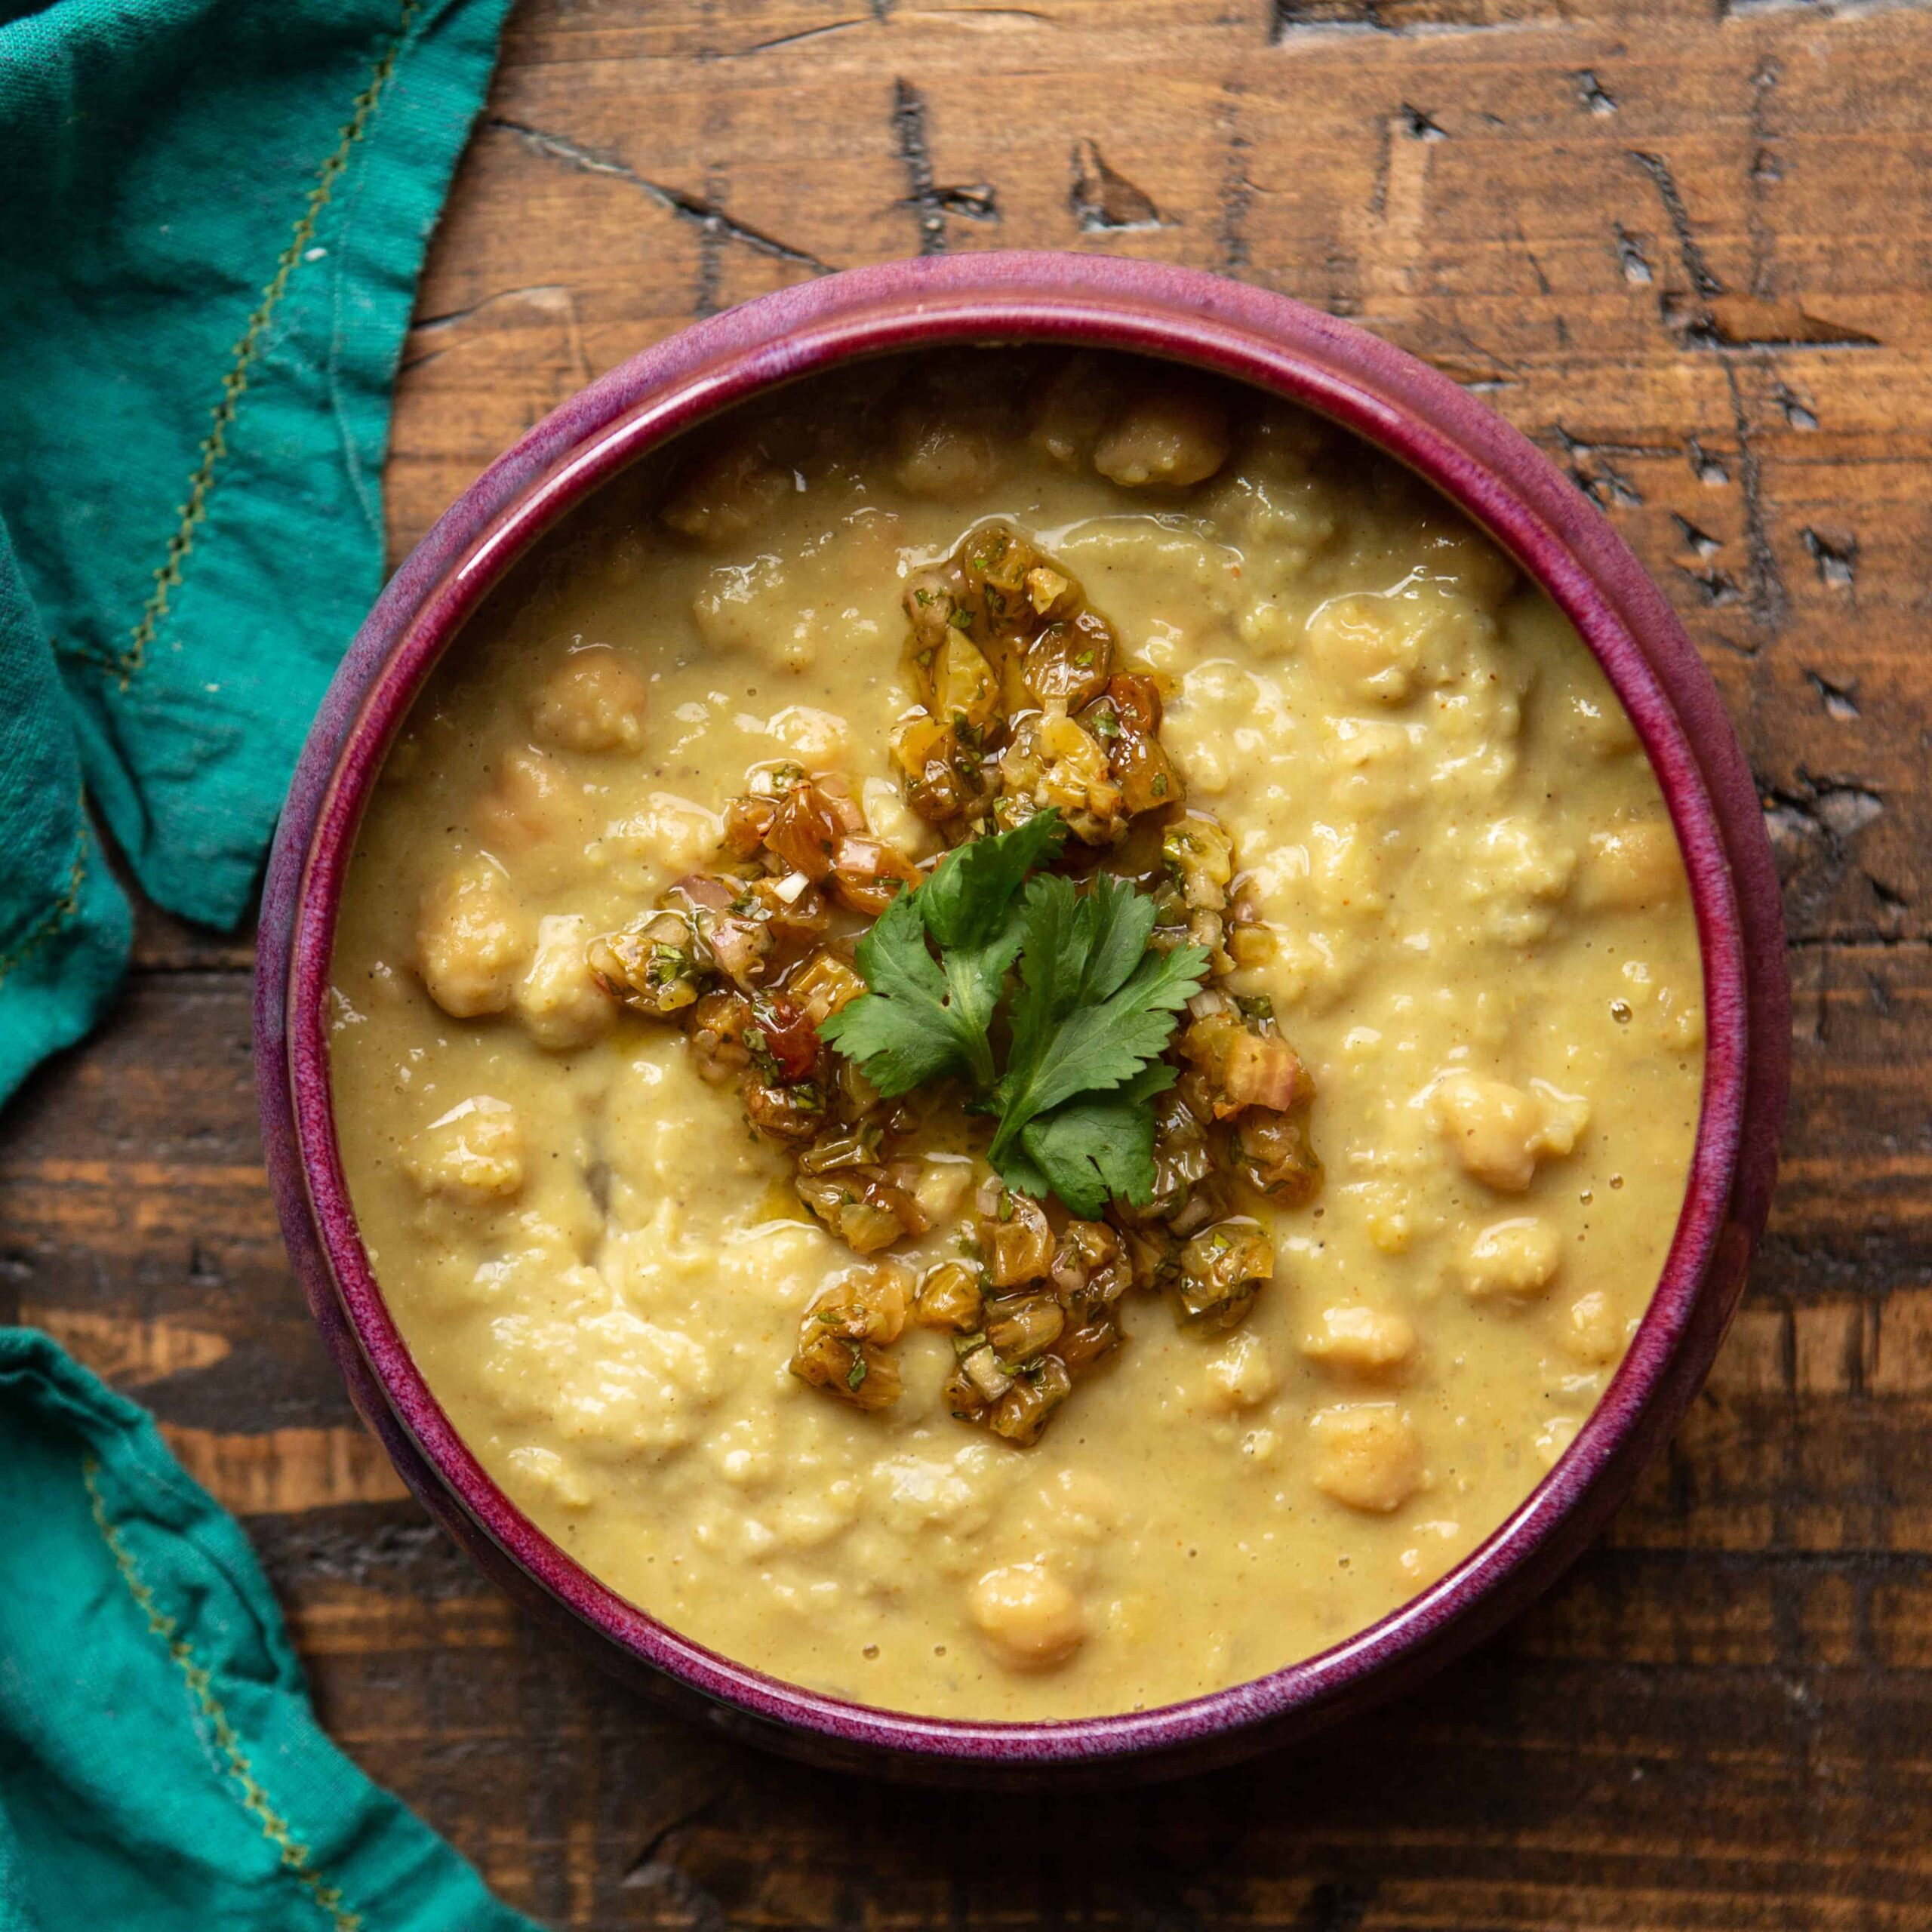
Labneh is, in it's essence, a vehicle for additional flavors. Traditionally, I top it with high quality olive oil, torn fresh mint, and homemade za'atar (even though you can also readily obtain store bought varieties), and serve it alongside freshly warmed pita. It's simple, but SO. FREAKING. GOOD.
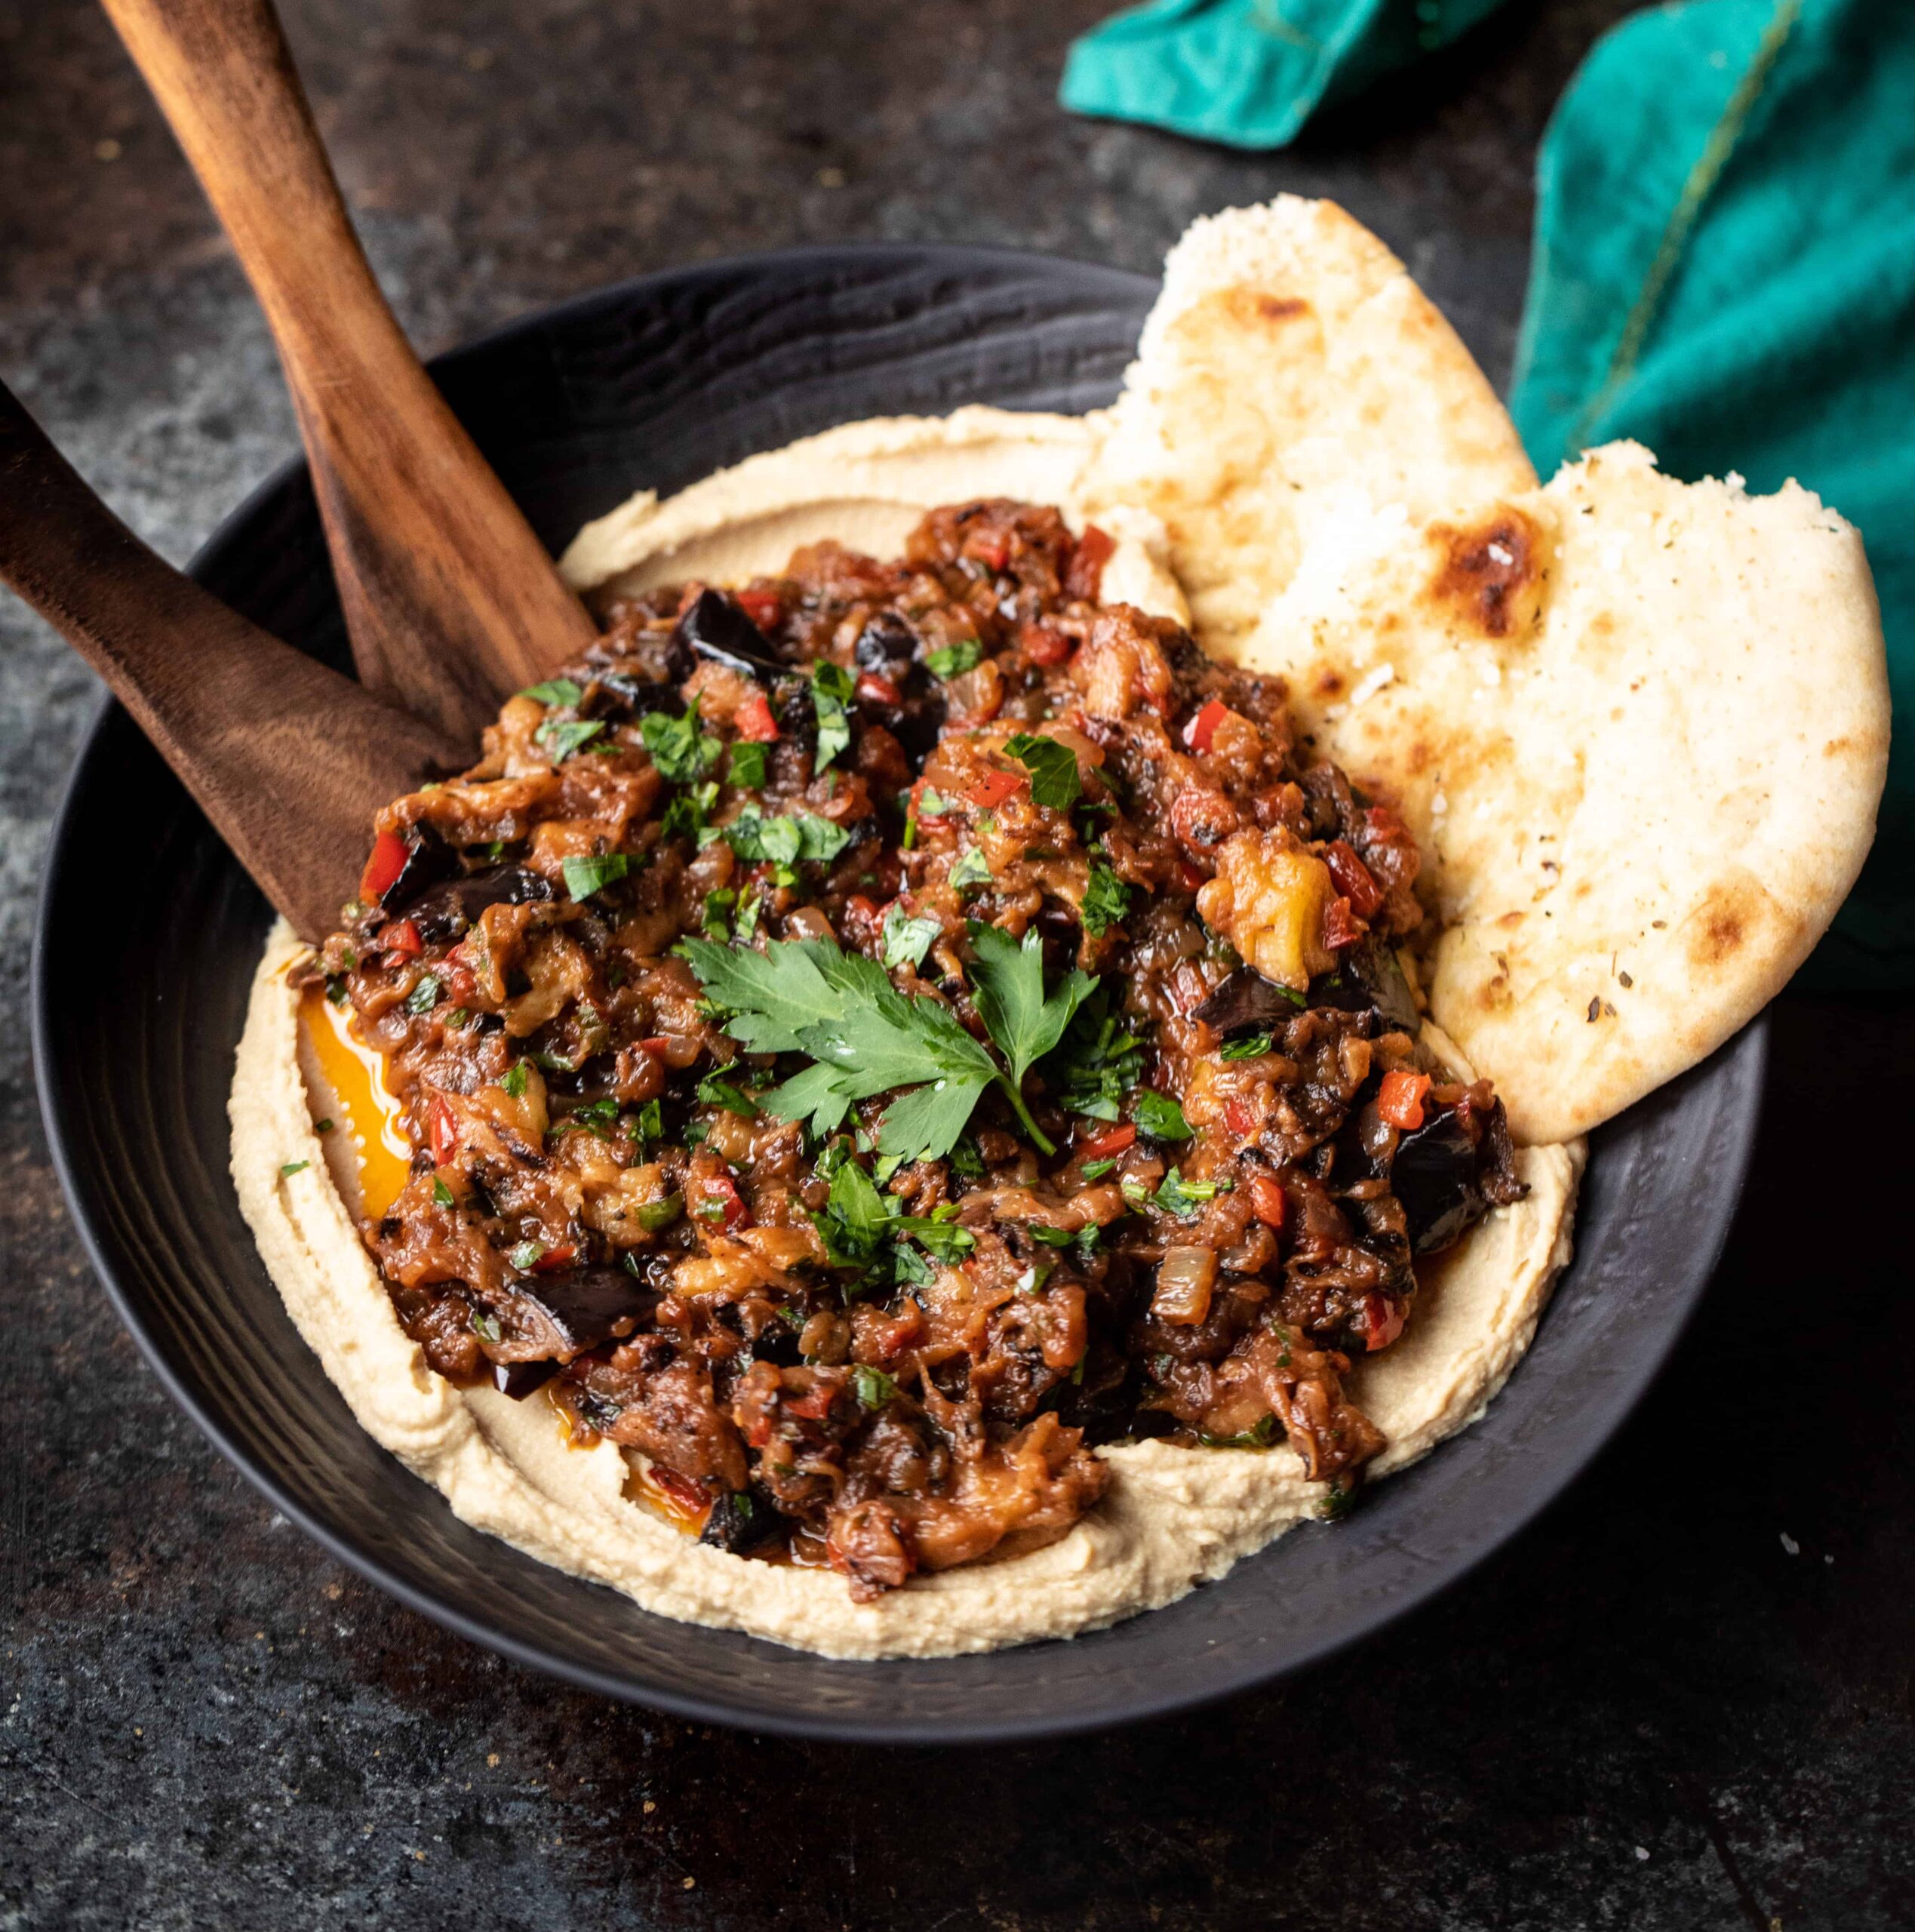
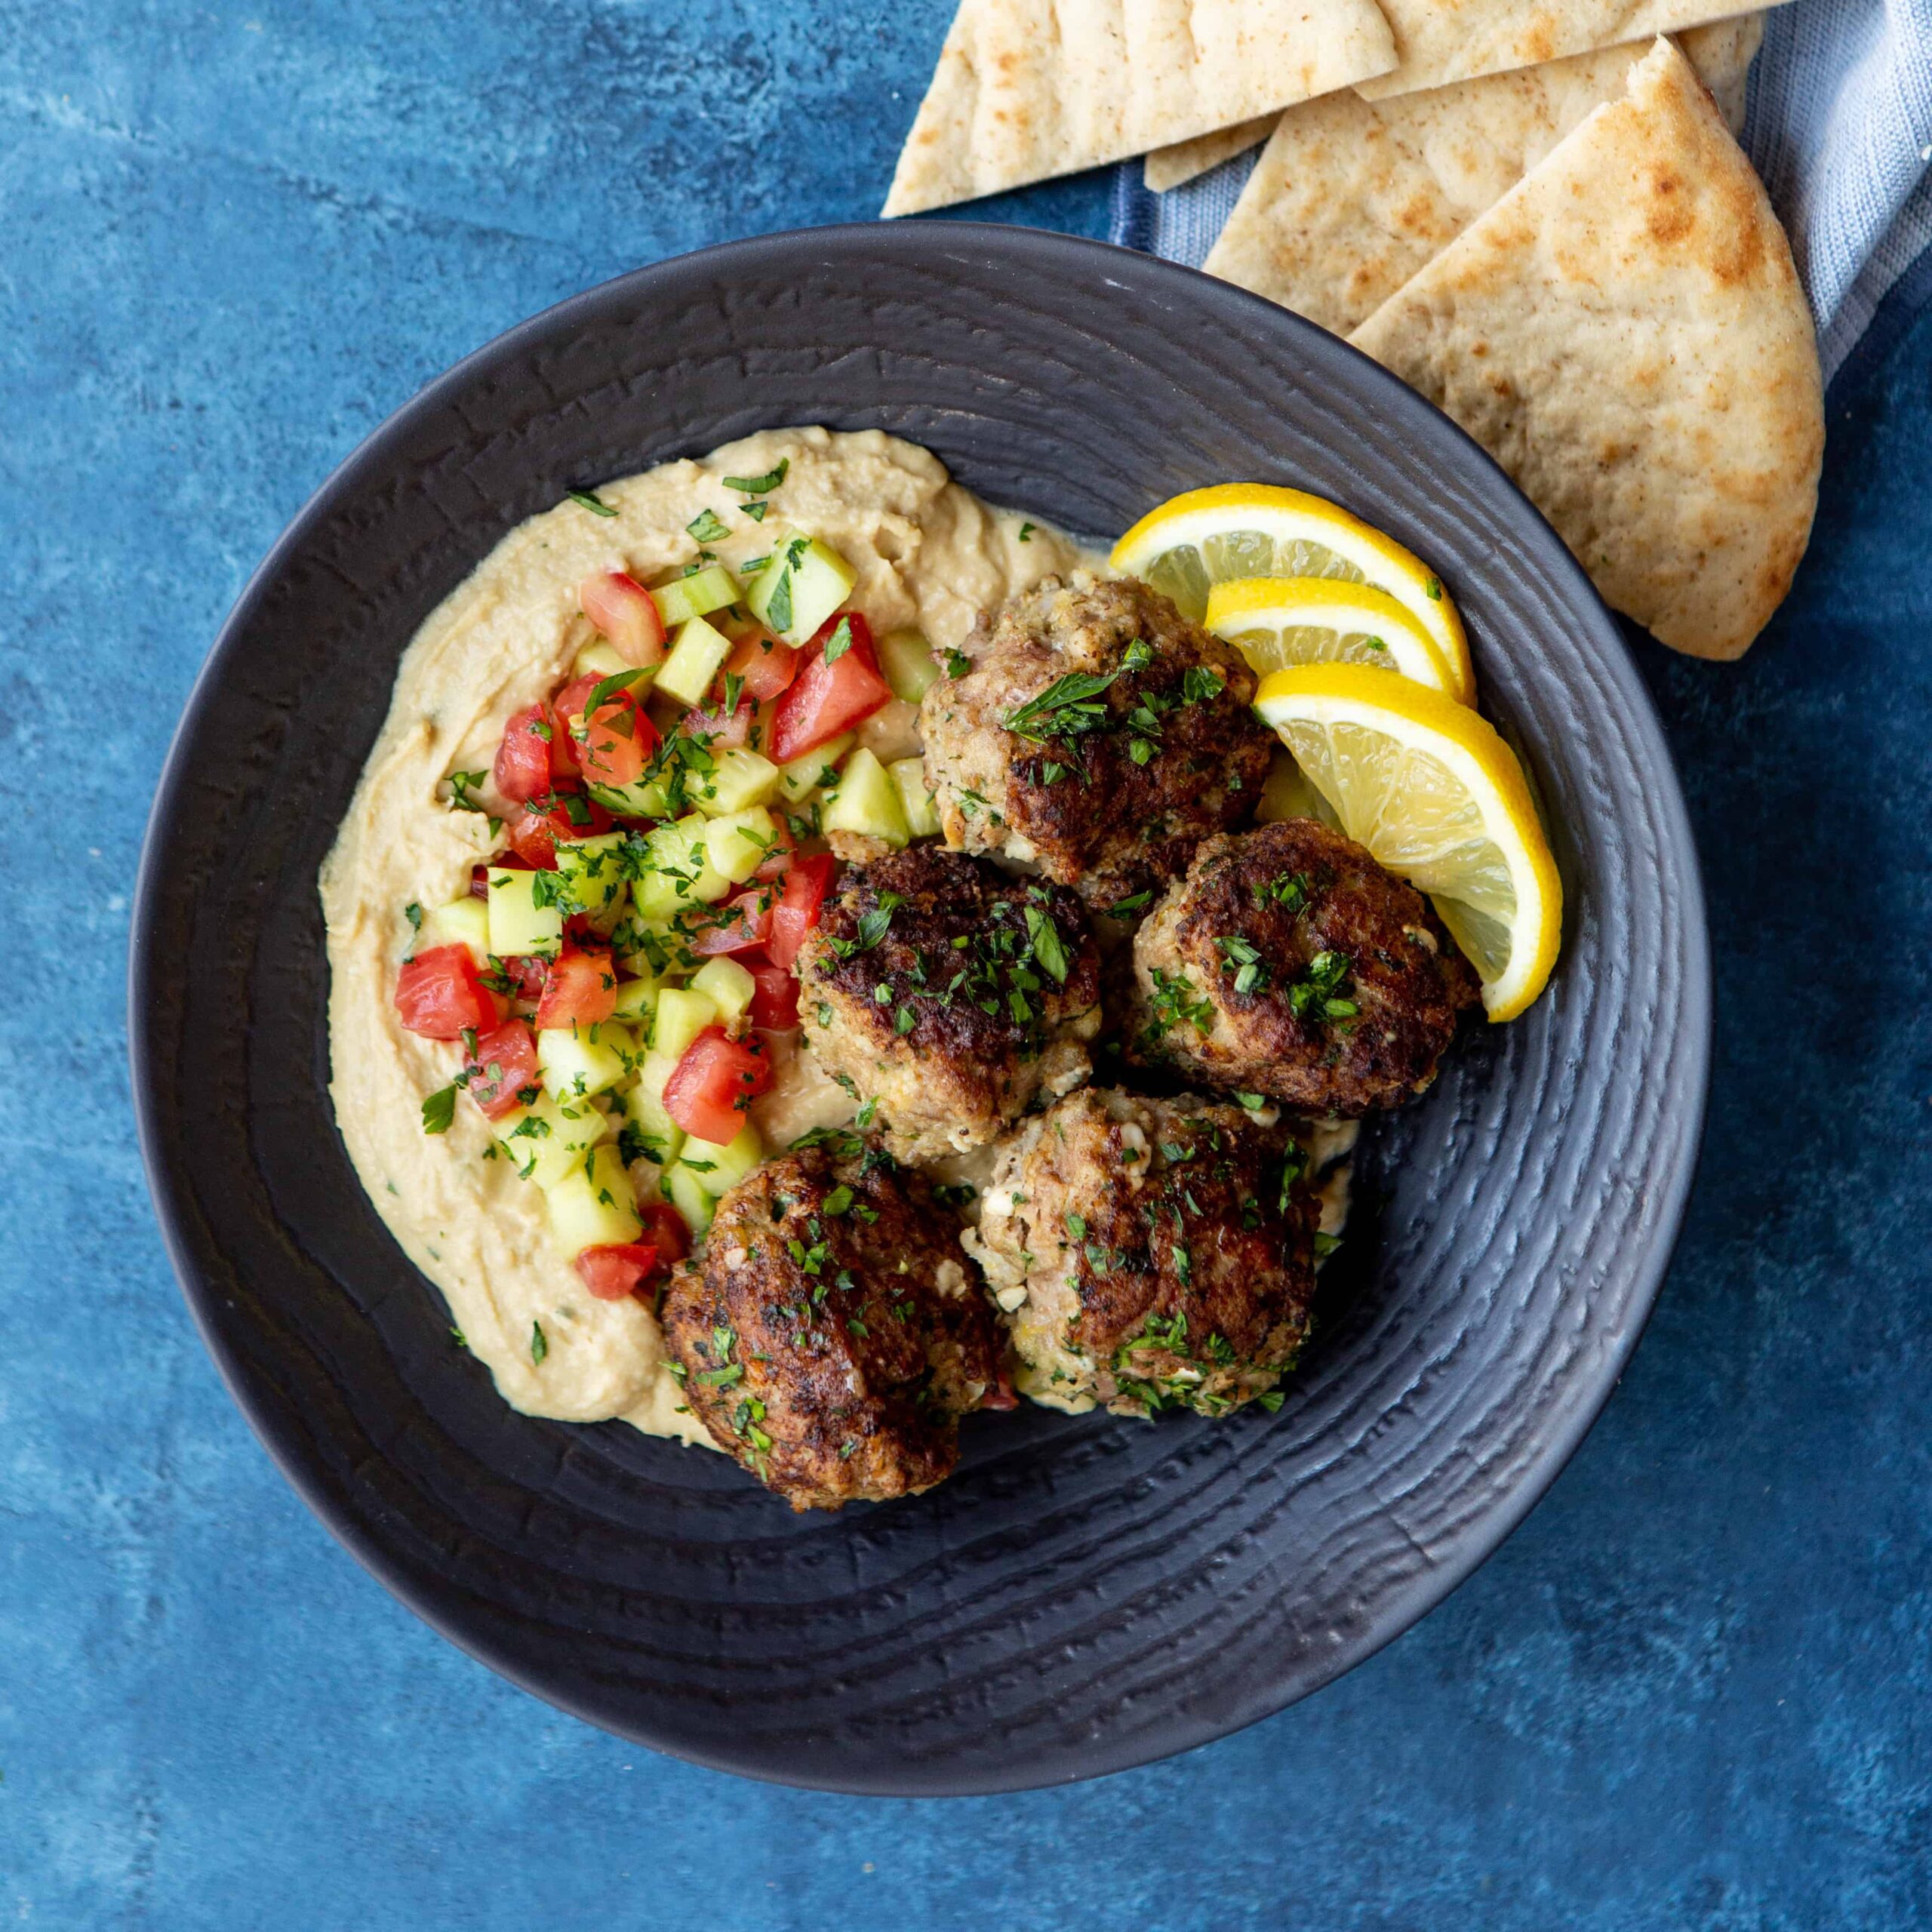
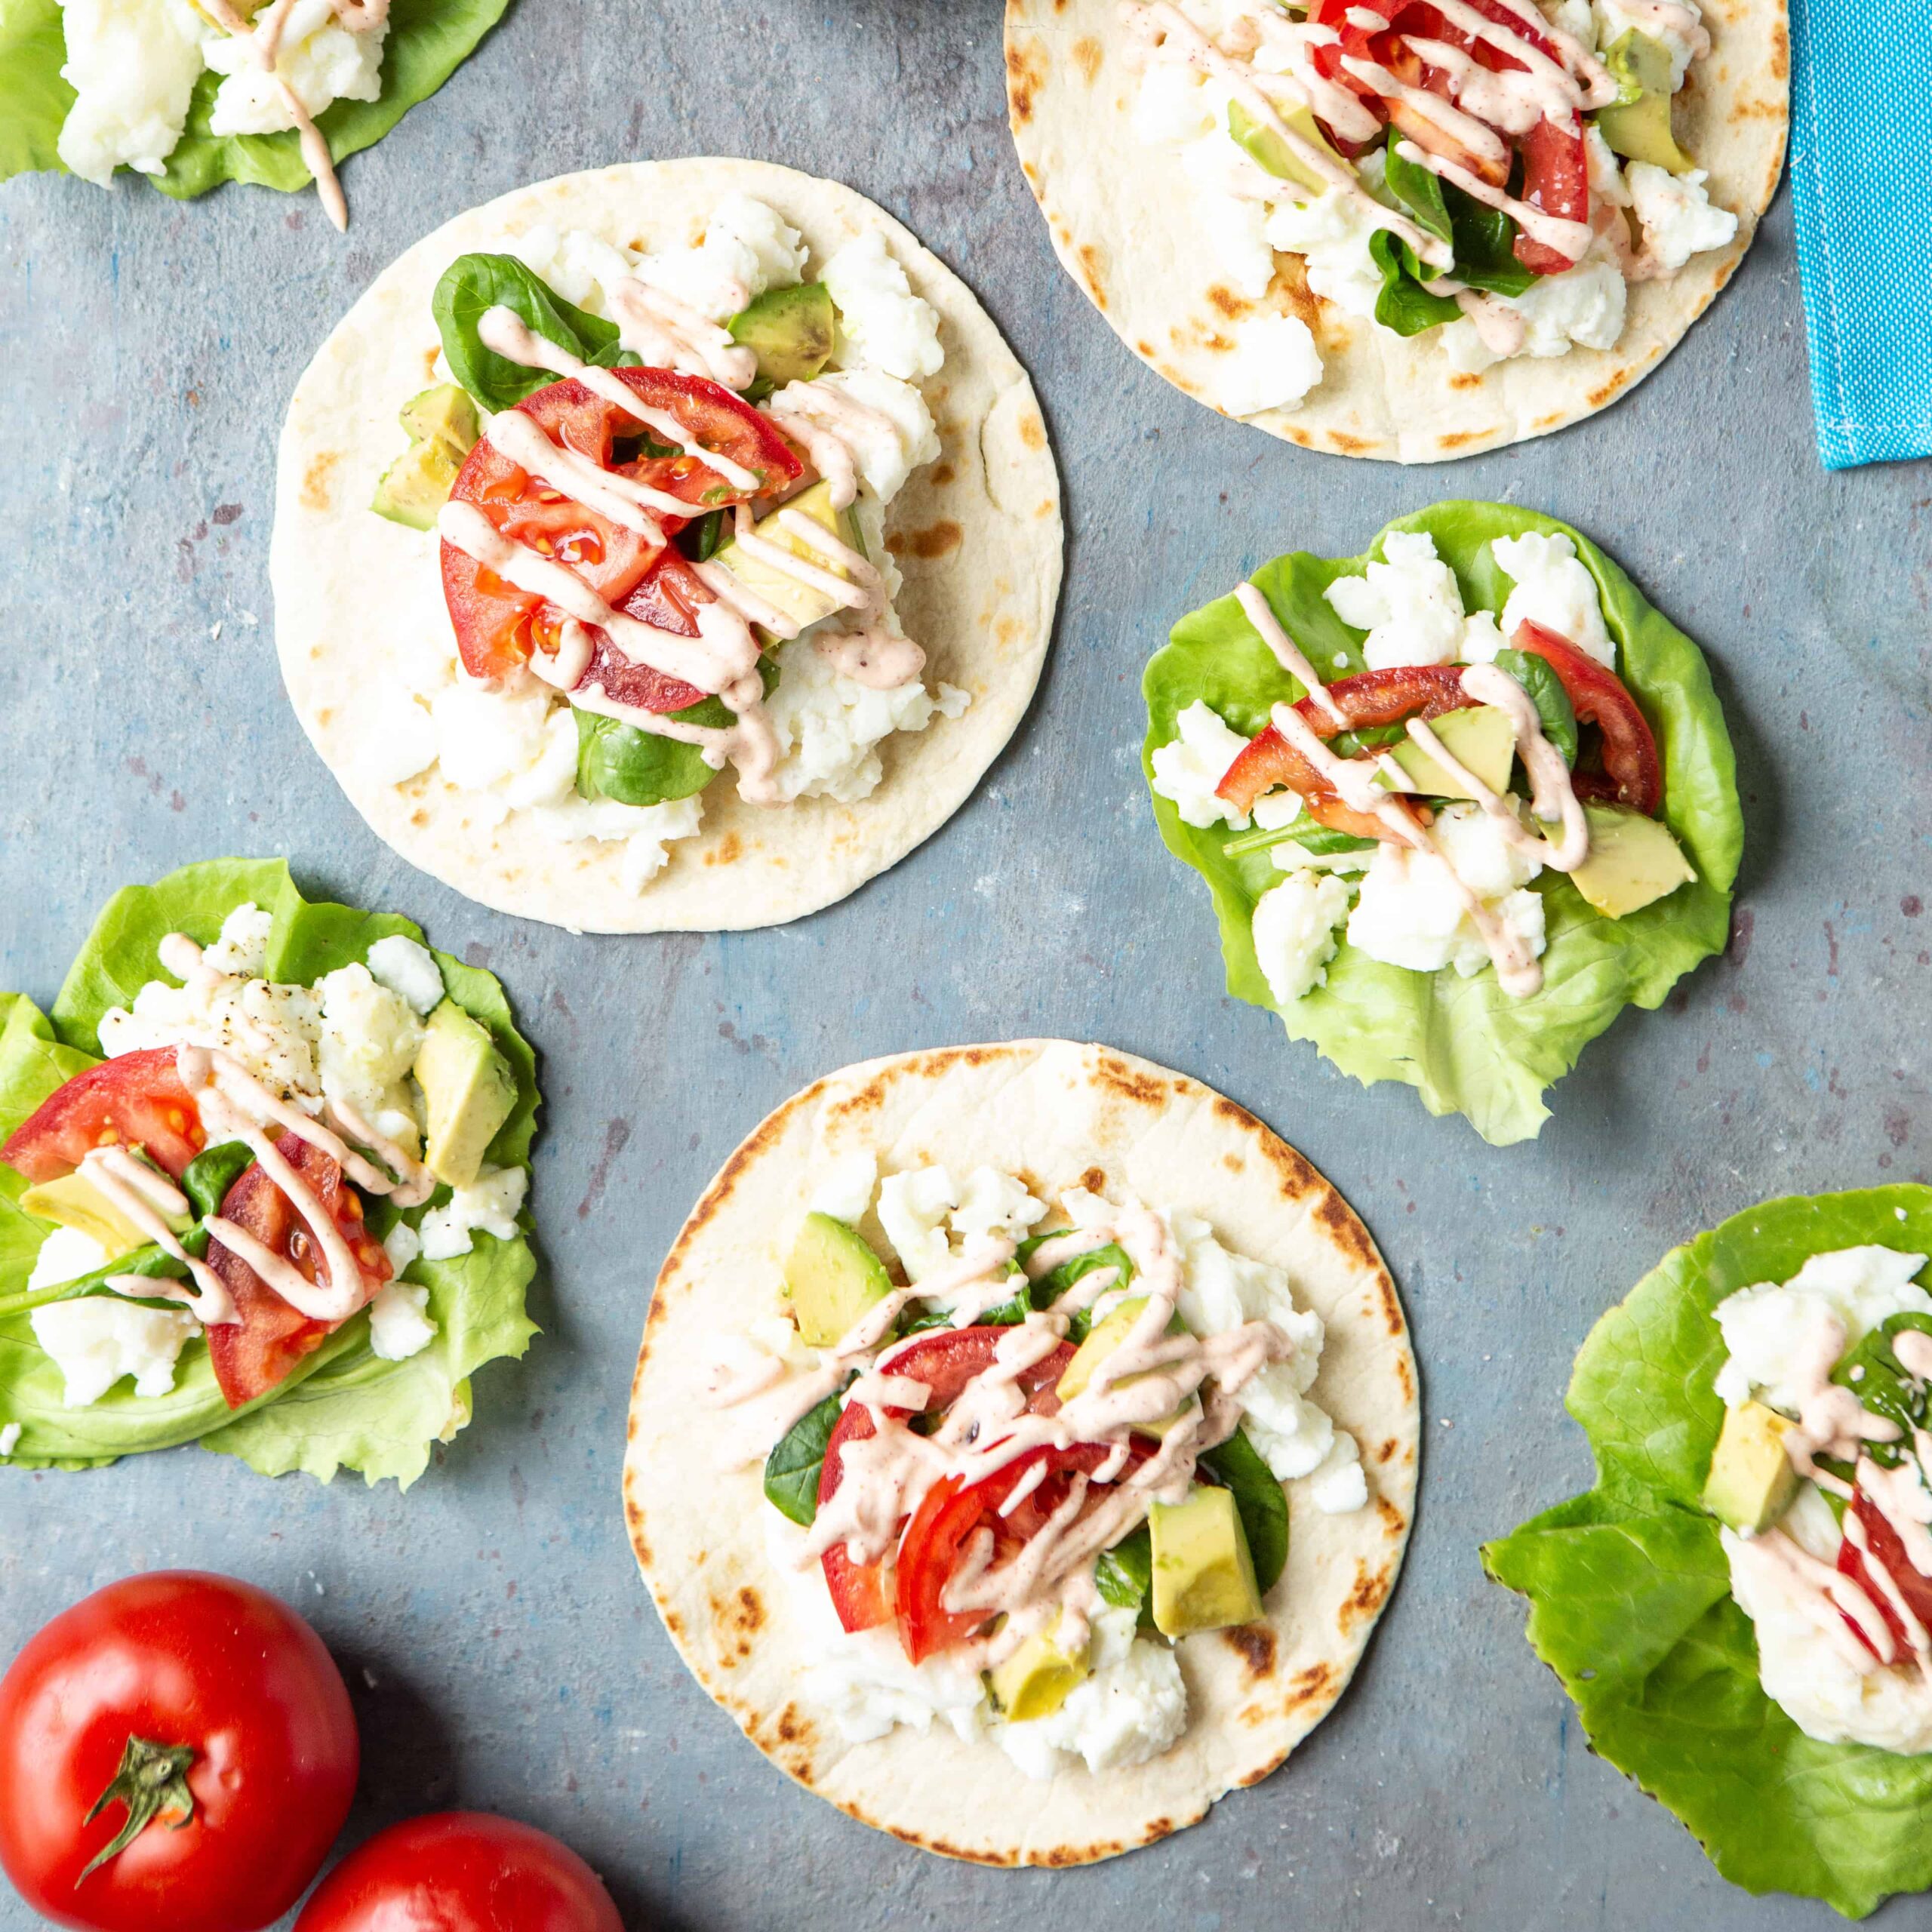
It's perfect as an appetizer. It's a great quick snack. Perhaps my favorite way of eating, though, is enjoying labneh as part of a bigger mezze platter with all different little bites like this Mediterranean Eggplant Dip or Vegan Mediterranean Hummus Dip with Tomato + Cucumber Salad.
Homemade Labneh is also a great base to build other flavors on. I love to have labneh topped with this Mediterranean Dense Bean Salad and it would also go great in a Mediterranean Chicken Grain Bowl!
One of my favorite uses of labneh, though, is putting it in a food processor along with some fresh garlic, chives, parsley, and mint until smooth. It's other worldly delicious and pairs fantastic with roasted vegetables. I love topping it with deeply roasted cauliflower, broccoli, or Brussel sprouts.
When I go all out, I top herbed homemade labneh with roasted Brussels sprouts, sliced red seedless grapes, and drizzle with some date syrup. It's ermagherd good. In the summer, I top grilled bread with herbed labneh, freshly sliced peaches, and mint.
You get the idea: the possibilities are endless... and delicious.
How Do I Make Labneh?
It takes approximately 3 minutes of active work to make homemade labneh. It's the definition of quick and easy. The hardest part is waiting the 24 hours for it to strain. Patience.
Simple season the Greek yogurt (I prefer to use a quart of Fage 5% Whole Milk Greek Yogurt) with Kosher salt, and put it in a layer of cheesecloth. Hang the cheesecloth with a wooden spoon over a large bowl or pitcher, and throw it in the fridge. 24 hours later... boom... labneh.
You can then go about storing your homemade labneh in an airtight container in the refrigerator for up to 2 weeks (but let's be honest, you'll eat it all way sooner).


